To connect our app with your WooCommerce website. Open the customer app source code folder from the downloaded package.
Inside the folder, you will find all the React Native customer application source code.
Now open project src/common/Theme.style.js file and change the following.
- https://your-site-url (it will be the url of your domain)
- Consumer Key
- Consumer Secret
- Change the colors for your theme
- Change the text size of the application small, medium, large, custom radius, Font family
- webClientIdForGoogleSign (add this webclient id from firebase for google login)
It will load WooCommerce products data into your application. You need to go into our Firebase console and enable Google authentication for your app.
Once you’re inside the app’s dashboard, you’re need to go into
Authentication → Sign-In Method → Google
and click the Enable toggle as show below.

Now save your web client Id and paste in config file in webClientIdForGoogleSign variable.
For further details visit this URL
export default {
    url: '', // your site URL
    consumerKey: '', // Your consumer secret
    consumerSecret: '', // Your consumer secret

    // please reset app cache after changing these five values
    defaultCurrencySymbol: '$',
    currencyCode: 'USD',
    priceDecimals: 2,
    // by default language for ltr
    ltrlanguageCode: 'en',
    // by default language for rtl
    rtllanguageCode: 'ar',

    yourVendorUserNameString: '',
    yourVendorPasswordString: '',

    oneSignalAppIdForAndroid: '',

    webClientIdForGoogleSign: '',
    /// //// navigation
    newProductDuration: 20,
    languageCode: 'EN',
    homeTitle: 'Grocery App',
    perPageNumber: 10,

    // Banners props
    autoplay: true,
    autoplayDelay: 2,
    autoplayLoop: true,
    appInProduction: false,

    /// //////// cartWidth
    singleRowCardWidth: cardWidth,
    twoRowCardWIdth: 0.465,

    barStyle: 'light-content' // dark-content, default
}

export const appTextStyle = {
    smallSize: 11,
    mediumSize: 12,
    largeSize: 14,
    customRadius: 19,
    fontFamily: 'Montserrat-Regular',
    isDarkMode: false
}

export const appLightTheme = {
    StatusBarColor: '#0478ed',
    barStyle: 'light-content',
    primary: '#0478ed',
    secondry: '#ffc854',
    primaryLight: '#f1f3f2',
    primaryBackgroundColor: '#ffffff',
    secondryBackgroundColor: '#ffffff', // backgroundcolor black
    textColor: '#444444',
    cardTextColor: '#000000',
    textTintColor: '#ffffff',
    iconPrimaryColor: '#9ba5a7',
    iconSecondryColor: '#000000'
}

export const appDarkTheme = {
    StatusBarColor: '#0478ed',
    barStyle: 'light-content',
    primary: '#0478ed',
    primaryLight: '#f1f3f2',
    secondry: '#ffc854',
    cardTextColor: '#000000',
    primaryBackgroundColor: '#252525', //
    secondryBackgroundColor: '#252525', // backgroundcolor white
    textColor: '#ffffff',
    textTintColor: '#ffffff',
    iconPrimaryColor: '#9ba5a7',
    iconSecondryColor: '#ffffff'
}
Change Splash Screen and App Icon
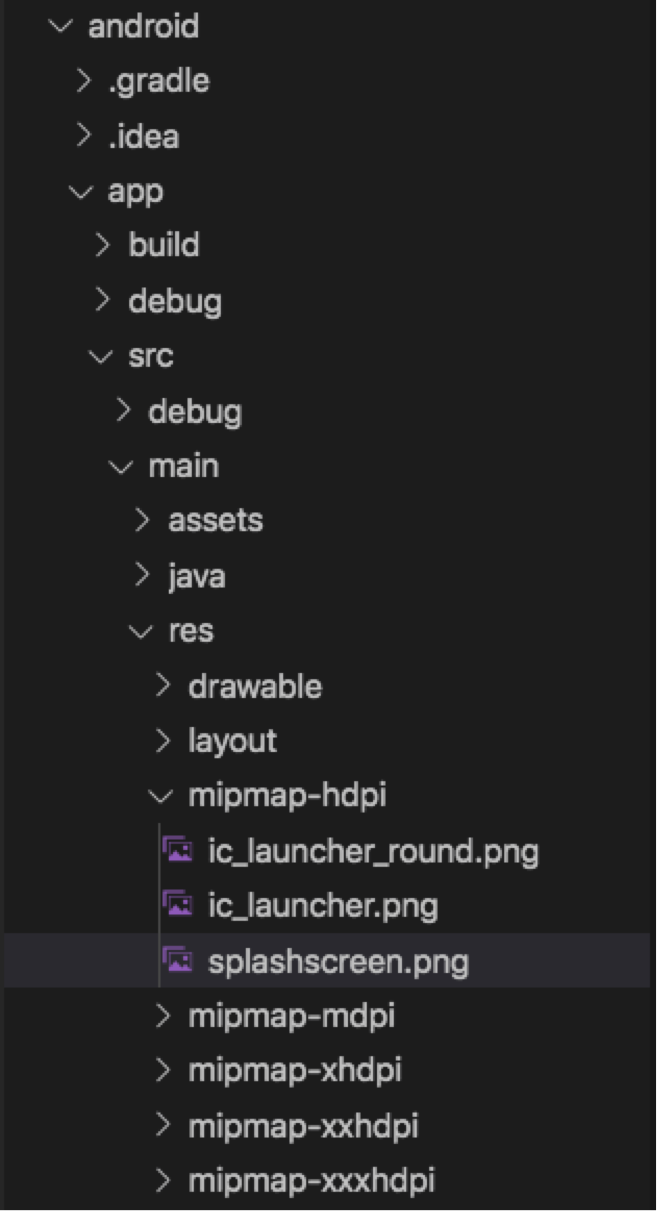
For Android:
Go into android/app/src/res/mipmap (dpi,mdpi,xhdpi,xxhdpi,xxxhdpi) and replace the splash screen image for your app splash screen and ic_launcher and ic_launcher_round(round shape icon) for icon (name and extension of all images should be same )
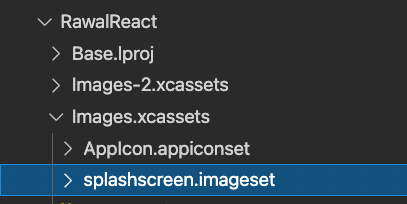
For iOS:
Go into projectName/ios/projectName/Images.xcassets/splashscreen.imageset and change the splash screen and icon.
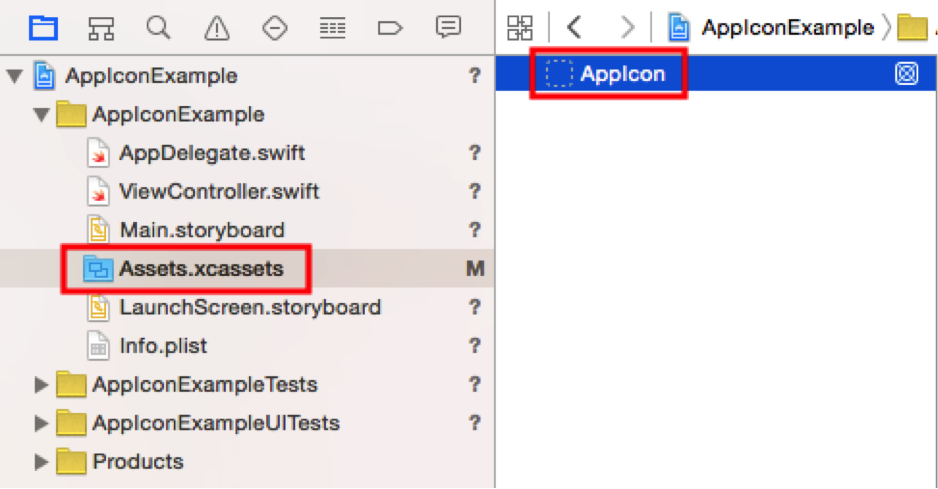
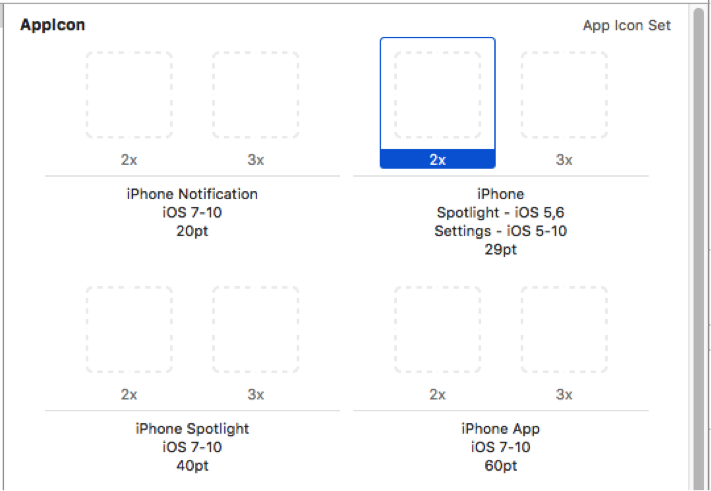
How to Set the App Icon
Click in the Project Navigator and then choose AppIcon.
Intro Slider Images
Replace those images for the intro slider (name and extension of all images should be the same).
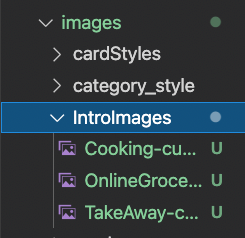
You can visit the following Path to change the Intro screens as per your requirements. You can change the image slide4.jpg.
<imagebackground style="{{" width:="" width,="" flex:="" 1="" }}="" source="{require('../images/IntroImages/slide4.jpg')}" resizemode="{'cover'}">
</imagebackground>
RateUs Button Android/IOS
For the Android – Rate Us button change the google package name in the for Andriod Packagename:
For IOS – Rate us button change the Apple App ID in AppleAppId:
const options = {
    AppleAppID: '', // your apple app id When you create an app in iTunes Connect, you get a number that is around 10 digits long.
    GooglePackageName: '', // example com.themescoder.com
    AmazonPackageName: '', // example com.themescoder.com
    OtherAndroidURL: 'http://www.randomappstore.com/app/47172391',
    preferredAndroidMarket: AndroidMarket.Google,
    preferInApp: false,
    openAppStoreIfInAppFails: true,
    fallbackPlatformURL: 'http://www.mywebsite.com/myapp.html'
}
RTL Layout Setup
For Android:
Go into projectName/android/app/src/main/java/com/rnbecruxBoy/MainActivity.java folder and change forceRTL() to true.
@Override
protected void onCreate(Bundle savedInstanceState) {
  SplashScreen.show(this, R.style.SplashTheme);  // here
  super.onCreate(savedInstanceState);
  I18nUtil sharedI18nUtilInstance = I18nUtil.getInstance();
  // sharedI18nUtilInstance.forceRTL(this, false); // true for RTL
  // sharedI18nUtilInstance.allowRTL(this, true); // uncomment it for allow RTL
}
For iOS:
Go into projectName/ios/projectName/AppDelegate.m folder and change forceRTL() to YES
- (BOOL)application:(UIApplication *)application didFinishLaunchingWithOptions:(NSDictionary *)launchOptions{
//  [[RCTI18nUtil sharedInstance] allowRTL:YES]; // uncomment for allow RTL
//  [[RCTI18nUtil sharedInstance] forceRTL:NO]; // uncomment for LTR
//  [[RCTI18nUtil sharedInstance] forceRTL:YES]; //  uncomment for RTL
How to config App name
For Android:
Open file android/app/src/main/res/values/strings.xml and change to your App name
<resources>
    <string name="app_name">React-Namal-Woo-Customer</string>
    <string name="facebook_app_id">1330370640657911</string>
    <string name="fb_login_protocol_scheme">1330370640657911</string>
</resources>
Don’t forget clean cache after change app info.
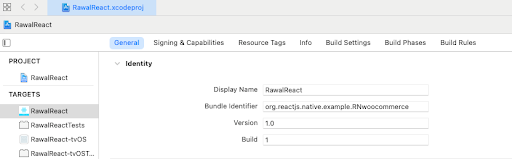
For iOS:
You will have to change the display name for iOS