After CMS installation, please follow below given instructions to set up your mobile application..
4.1) – Getting Started
Download and install all latest tools, required for developing Android apps such as Java Development Kit and Android Studio as the Official Android IDE. For updated tutorial about how to install them, you can see and Download this from Android Developer website.
Download JDK
Download Android studio IDE
4.2) – Android Studio Setting
There are three main things interacting when you use Android Studio to create android applications.
· The code you write in Java or Kotlin to create interactive android apps
· Android Studio itself, an IDE that provides you with a nice interface for coding
· Android SDK, a selection of tools including the Android platform itself
Now you can click on Android Studio to launch it. Once it opens up, you’ll be presented with a menu where you’ll be able to get started or configure some options. The great thing is that everything is handled for you at this point, though you may want to familiarize yourself with the SDK Manager (Configure > SDK Manager) which is where you’ll update your Android SDK to support newer versions, as well as download things like code samples or support for Google Glass. But don’t worry about that now but if Android Studio says you’re missing something, this is where you’ll probably need to go to find it.
4.3) – Open up Project in Android Studio
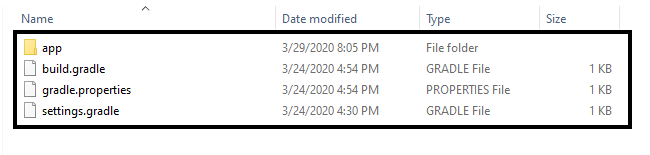
Locate your Android app in the given project .zip folder and extract it somewhere in your computer.
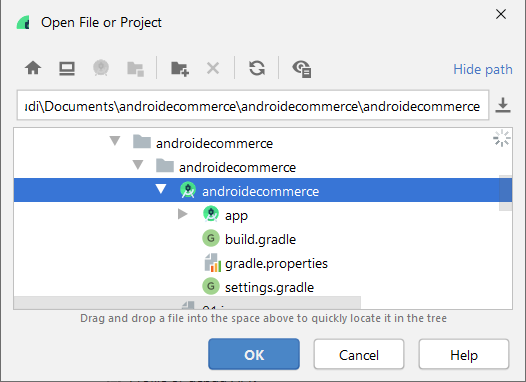
Once Android studio ready, click open an existing android studio project.

Browse to directory where you placed the android project and click OK after selecting the root directory of project.
While opening up the project you will get a popup like this. please click OK to building the project.

After this android studio will download some of the packages and execute some gradle plugins into your project.

While importing your android app you may get some dependencies errors. to resolve that you just need to update versions of libraries or dependencies.

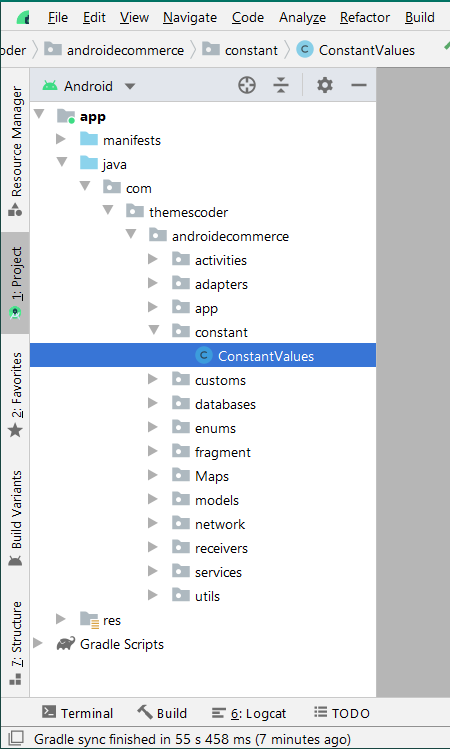
After every thing is done. your android studio project will look like this. you may ignore the plugin update if it recommends that.
Project directory structure looks like this. your all java source code is placed under the following package.
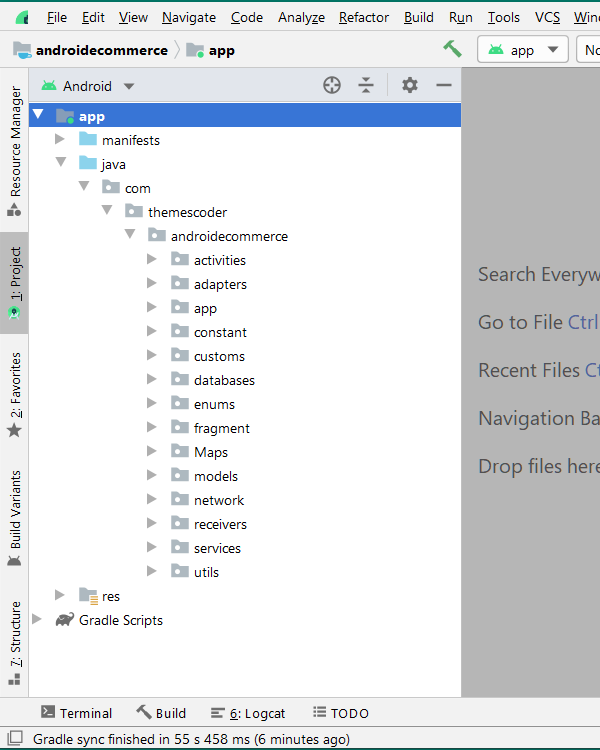
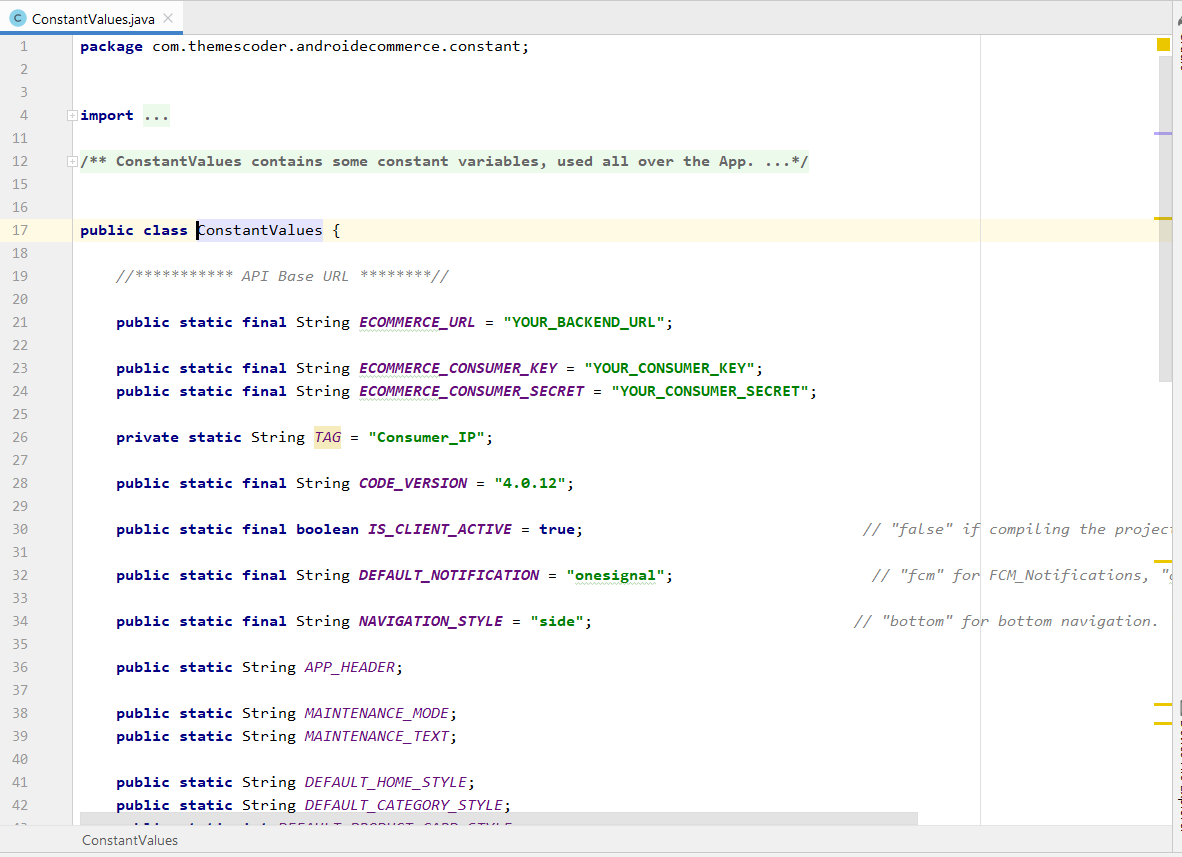
we only need ConstantValues.java file to attach our backend.
ConstantValues file looks like this.